Micro-art project with Python and OpenCV
# The context
From the living room in our flat, there is a nice view of the river Tay, with a small monastery on the other side of the river. Being in lockdown means that I spend 99.9% of my time indoors, so I frequently admire this view during a coffee-break, and I snapped a lot of photos of it during the past 6 months or so.
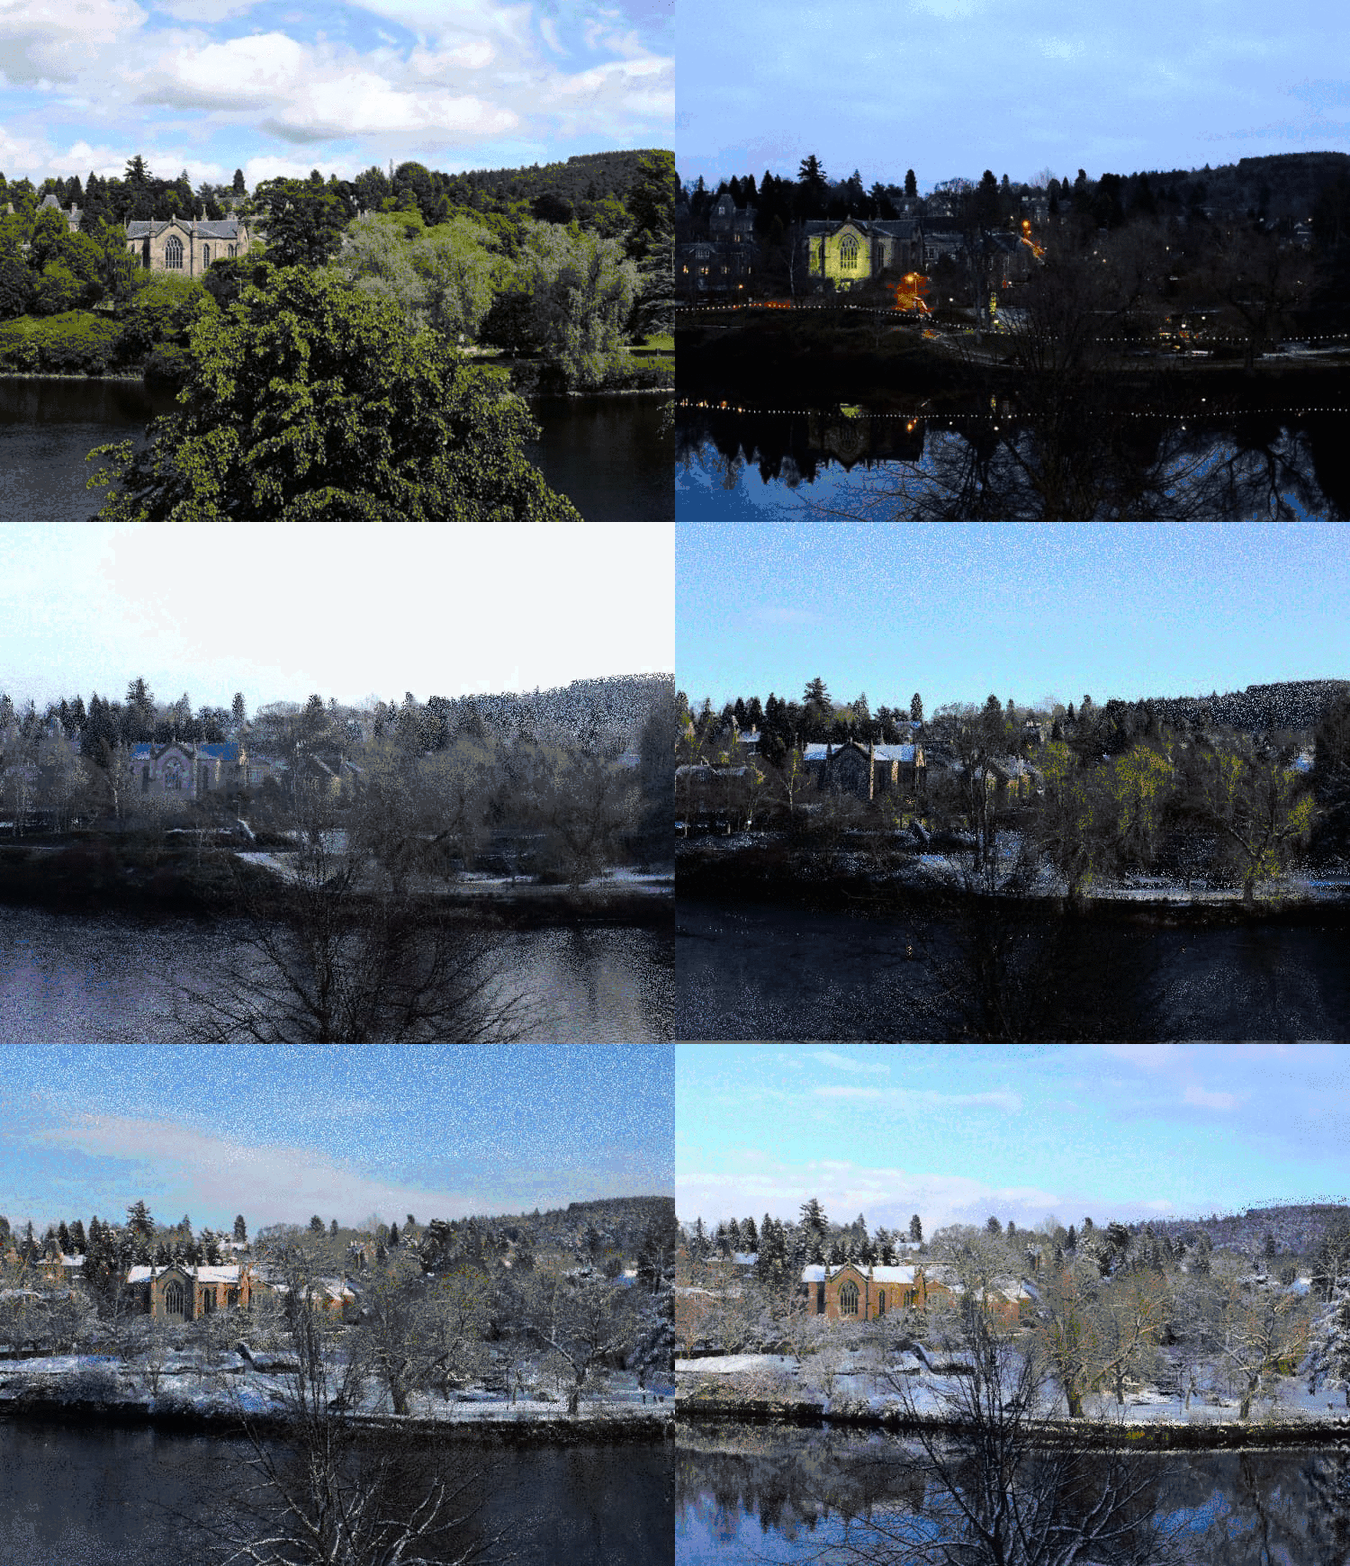
On a lazy Saturday morning, I had an idea about a small art project that would involve using these photos to create a timelapse video about the changing seasons, as experienced from our living room. So I sat down and wrote some rather messy Python script for it. The results are nothing spectacular - a rather low-resolution and grainy gif that is collated from these photos and which, to some extent, conveys the passage of time:

# The method
I couldn’t just make a gif out of the photos, because I had not taken these photos with this project in mind: the angle and the framing were ad hoc, so the monastery was on the very left on one picture, a little more to the right on another one, a little to the top on another, et cetera. This would have created a jumpy effect, not very seamless. In order to create a relatively seamless timelapse without the monastery changing place too much, I needed to fix its position.
The approach I took was the following.
- I browsed through my photos and downloaded all which seemed like good candidates for the timelapse.
- I resized them with the
resizemethod of theopencvPython library. - From a couple of images, I have cut out the gothic window of the monastery. This is the only part of the image that is relatively unchanged throughout all the seasons, and it’s very prominent, so it makes a good anchor to position the image around. These are small patches that look like these:


- A Python script flipped through the photos, and tried to identify the gothic window of the monastery. It did that by using the
matchTemplatemethod of theopencvlibrary. This method takes a smaller image (called the template), and tries to locate it on a larger image, by sliding the template through the large one. The match doesn’t have to be pixel-perfect: the result of this function is a probability map of matches at each location of the image. The point where the probability of the match is highest represents the most probable location of the gothic window on the image: it is what we are looking for. - Once I had the location of the gothic window, I have cut all images so that the window is positioned at exactly the same place on each image (so that the monastery has a fix padding on top and on the left). For this, most images had to be cropped - some more than others. The output images from this step are stored for later processing.
- Iterating through the cropped images, I created 4 images between every photo by swapping random pixels in the first image to that of the second image. This creates a transition effect that I was looking for.
- I used the
squoosh-clito compress the images, in order to save space (and bandwith for you!). Thanks Eszter for the tip about thesquoosh-cli! 🎉 - Finally, I used
imagemagick(specifically, theconverttool) to convert the transition images into agif.
The result is the gif displayed above.
Overall this was a relatively simple and fun project!
I didn’t do any optimizations - for instance, I could have used the ProcessPoolExecutor to use multiple cores on my machine. But I did learn some things about opencv and numpy, which made it a worthwhile activity.

